Landscape Photo Tip #9: Lower Your ISO
Every so often, I like to share some tips with you from my The Photographer’s Eye e-Book series. This one is from “>The Photographer’s Eye: Landscapes.
Today’s cameras are incredible miracles, really. In essence you are holding in your little hand a computer that would have filled a good part of a room just a few decades ago. One of the most miraculous capabilities of digital cameras is their ability to capture pretty decent images in low light. They do that by making the sensor extremely sensitive to light, the same way that different films were more or less sensitive to light.
In the old days, there was a trade-off. The more sensitive film was to light, the more “grainy” the resulting image looked. Today we call that graininess “noise.” The biggest difference is that newer sensors have made that noise less apparent. Note I say less apparent, not entirely removed.
Now, in most situations, you may not notice the noise in your image. Certainly you’ll never notice it on your camera screen. Up to about ISO 800 or even 1600 (a measure of the sensor’s sensitivity to light… the higher the number the more it is able to record images in low light) you’d be hard pressed to notice the noise.
Here Comes the Noise
But, as you blow up that image that noise becomes apparent. And few things ruin a dramatic landscape image more than noise. Sometime you may want that grainy effect for creative reasons; most of the time in landscape photography you won’t. The noise will be most prominent in the shadow areas of the image. As you blow up the image beyond a print size of 8.5 x 11, the noise becomes more apparent. At 12 x 18" it starts to bother; at 16 x 24"you find yourself apologizing.The answer? Simply lower your ISO when capturing landscape images.
Many newer cameras have their “native” ISO set at or around 100-200. If that’s the case with your camera, then by all means try to keep your ISO at 200 (or below). Many cameras can handle up to ISO 400 or even 800 with minimal noise, but don’t count on it. However, to effectively use ISO 200 or below you will almost always have to use tripod. All other variables being equal, as you lower the ISO you must keep open the shutter for a longer period of time to allow in enough light. To prevent hand shake during exposures a tripod and cable release are critical.
Many landscape images require times of 1/15 second or slower.; for silky, flowing water, many seconds. In my twenties I could hand-hold a SLR with a wide angle lens and nail it at 1/15. Nowadays, not so much. I need a tripod for probably 80-90% of my landscapes. But the trade-off of carrying one around is that you can keep your ISO low. The result? You’ll have crisper landscapes with no “noise” at all.
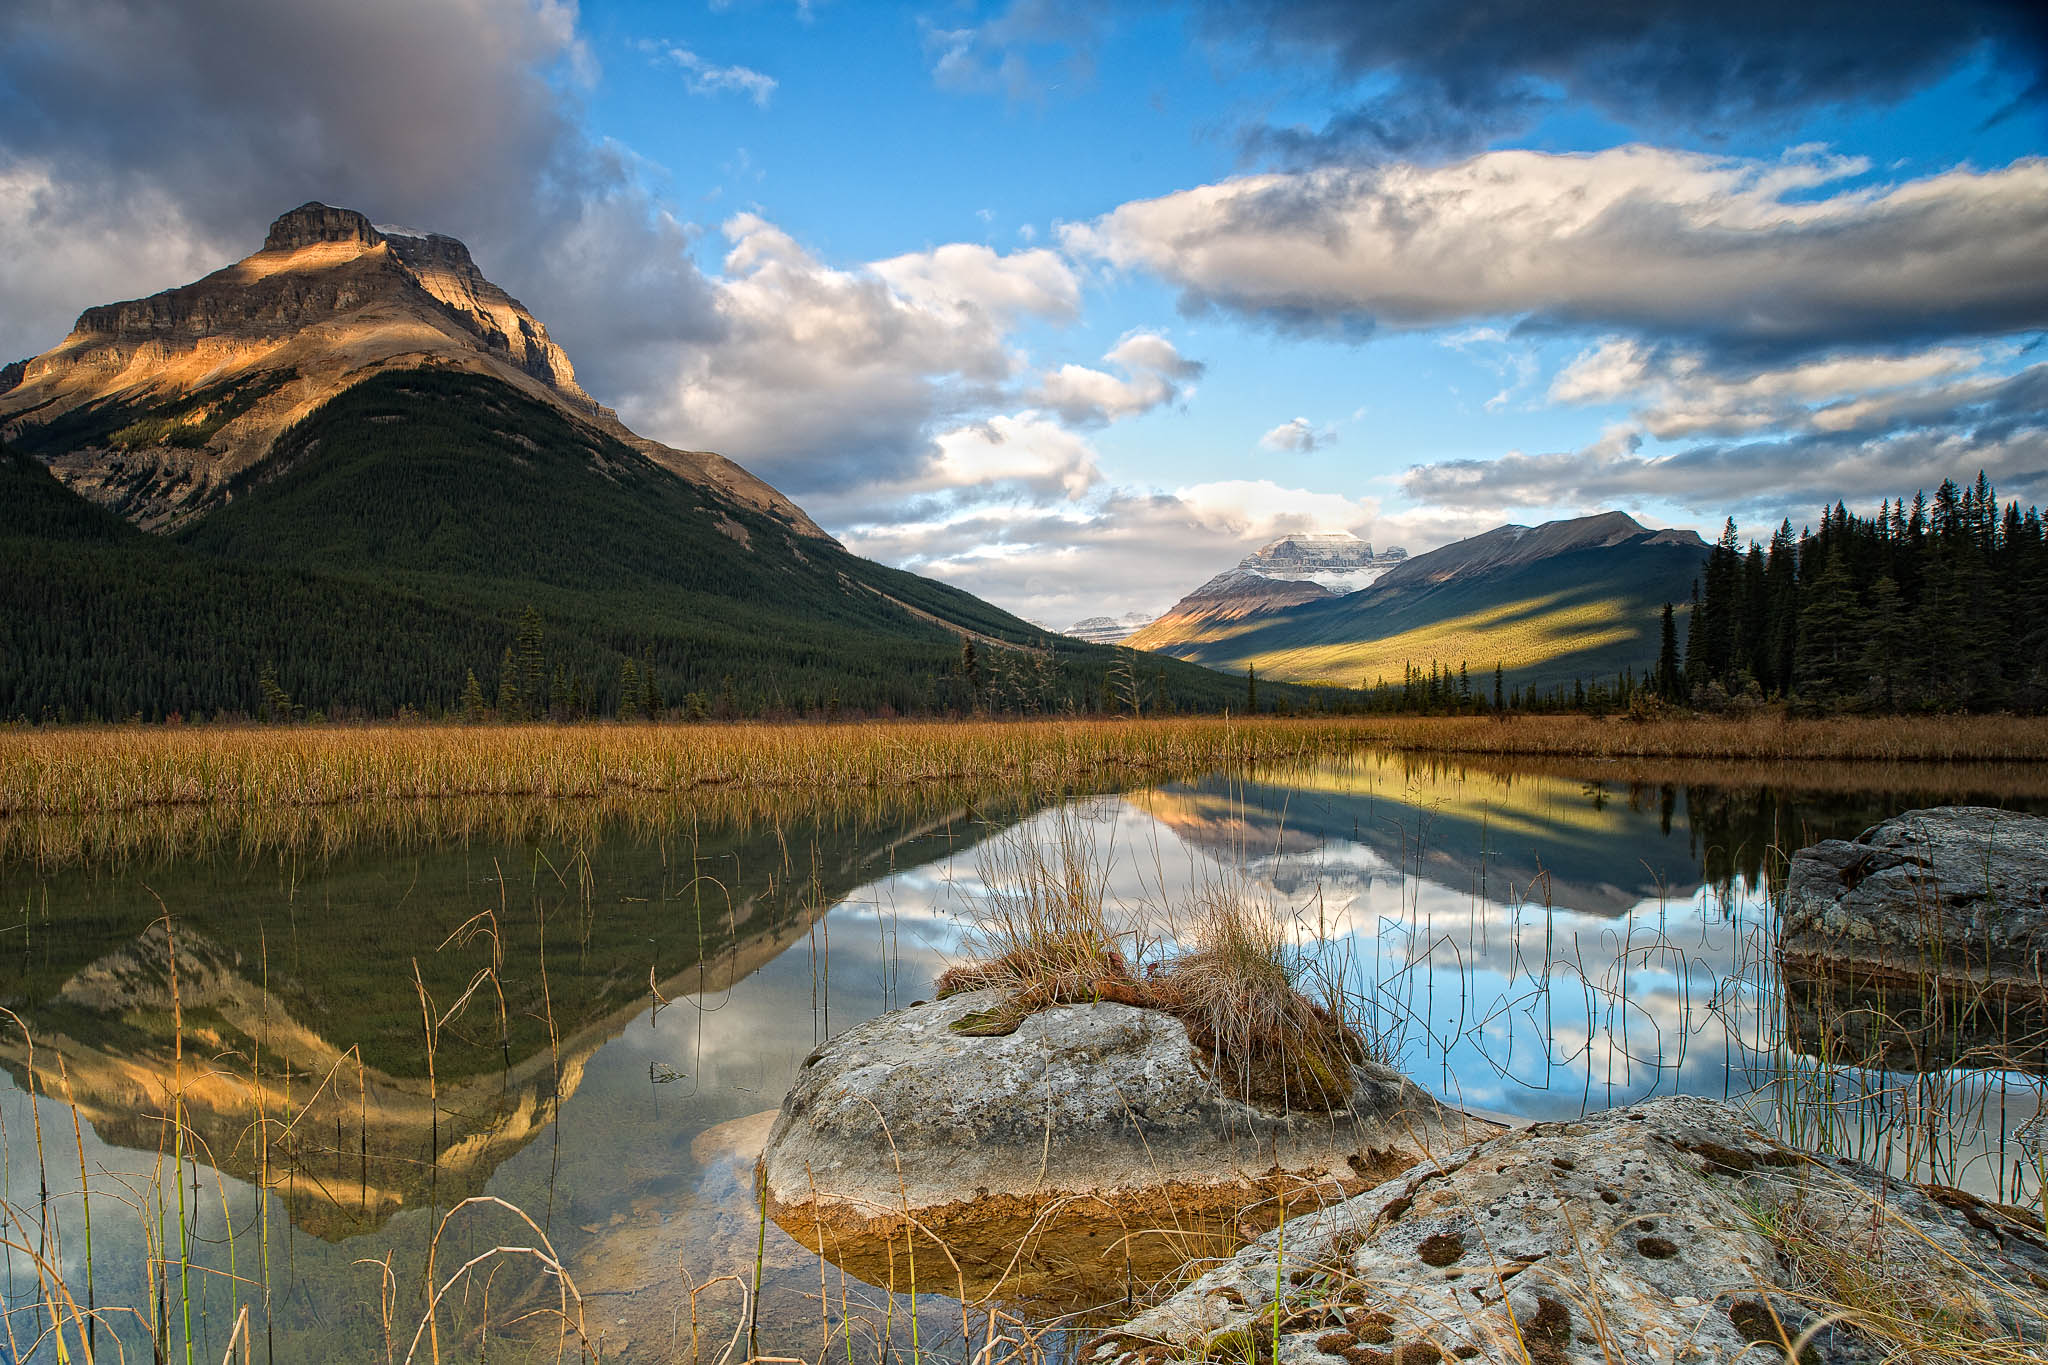
The image above was taken just after sunrise at Rampart Pond in the Canadian Rockies, when the foreground and mid-ground elements were still in shadow. I used a graduated neutral density filter to hold back the sky, but I needed a long shutter speed to capture details in the shadows. By using a tripod, I was able to keep the ISO at 100, so that the image has virtually no grain at all.
So, for better landscapes, lower your ISO (and use a tripod and cable release).