Photographing in the Serengeti
Africa
I don’t believe it makes a difference whether you are professional wildlife photographer or a serious amateur landscape photographer. I suspect that every photographer dreams of a photo trip to Tanzania’s amazing Serengeti National Park and Ngorongoro Crater.
I just led a photo tour to Tanzania (and Uganda), and what an experience it was! My five clients had a ball and came away with simply fantastic images. From the wildebeest and zebra migration to a pride’s kill of a zebra right in front of us, we relished it all.
There are some photography tips and techniques that I’d like to share with you about photographing in the Serengeti and Ngorongoro Crater that you may want to consider when planning your own trip there. It’s a long - and partial -list, but it’s far better to be prepared than to arrive at a dramatic scene and find that you cannot take full advantage of it due to improper planning.
Prepare for Dust. I put this as Number One because this is the issue that most newbies to African safaris are least prepared for. The roads in African parks are not paved. Far from it; they are a mass of potholes, dips, washboards and mud craters that could well be called rift valleys. The dust storms from passing vehicles and vehicles you are following will settle on everything.
Be sure to have good, tight cases for all your gear. I also recommend you take various size tent bags (sold at sporting goods stores) to put your gear in as a second precaution, but shake them out at night in camp. Take extra lens caps. Bring large microfiber cloths to wipe down the external parts of your gear and be sure to have a blower, brush and lens wipes. And, don’t forget your personal health. Bring one disposal hospital mask for every day you will be photographing in Africa or use bandanas that you can wash out every day.
Be in Good Shape. Shooting from Rovers entails standing, sitting, stooping, and contorting your body within the vehicle.
Practice. I say this all the time. When you shoot wildlife, your camera equipment has to be an extension of your body and mind. Practice every day before you leave. Know how to quickly change your f-stop, ISO, shutter speed, exposure compensation, focus adjustments and more. African light changes constantly. Animal coloration differs. Wildlife are always moving. You will shoot sunrises and sunsets in low light conditions. Know your equipment!
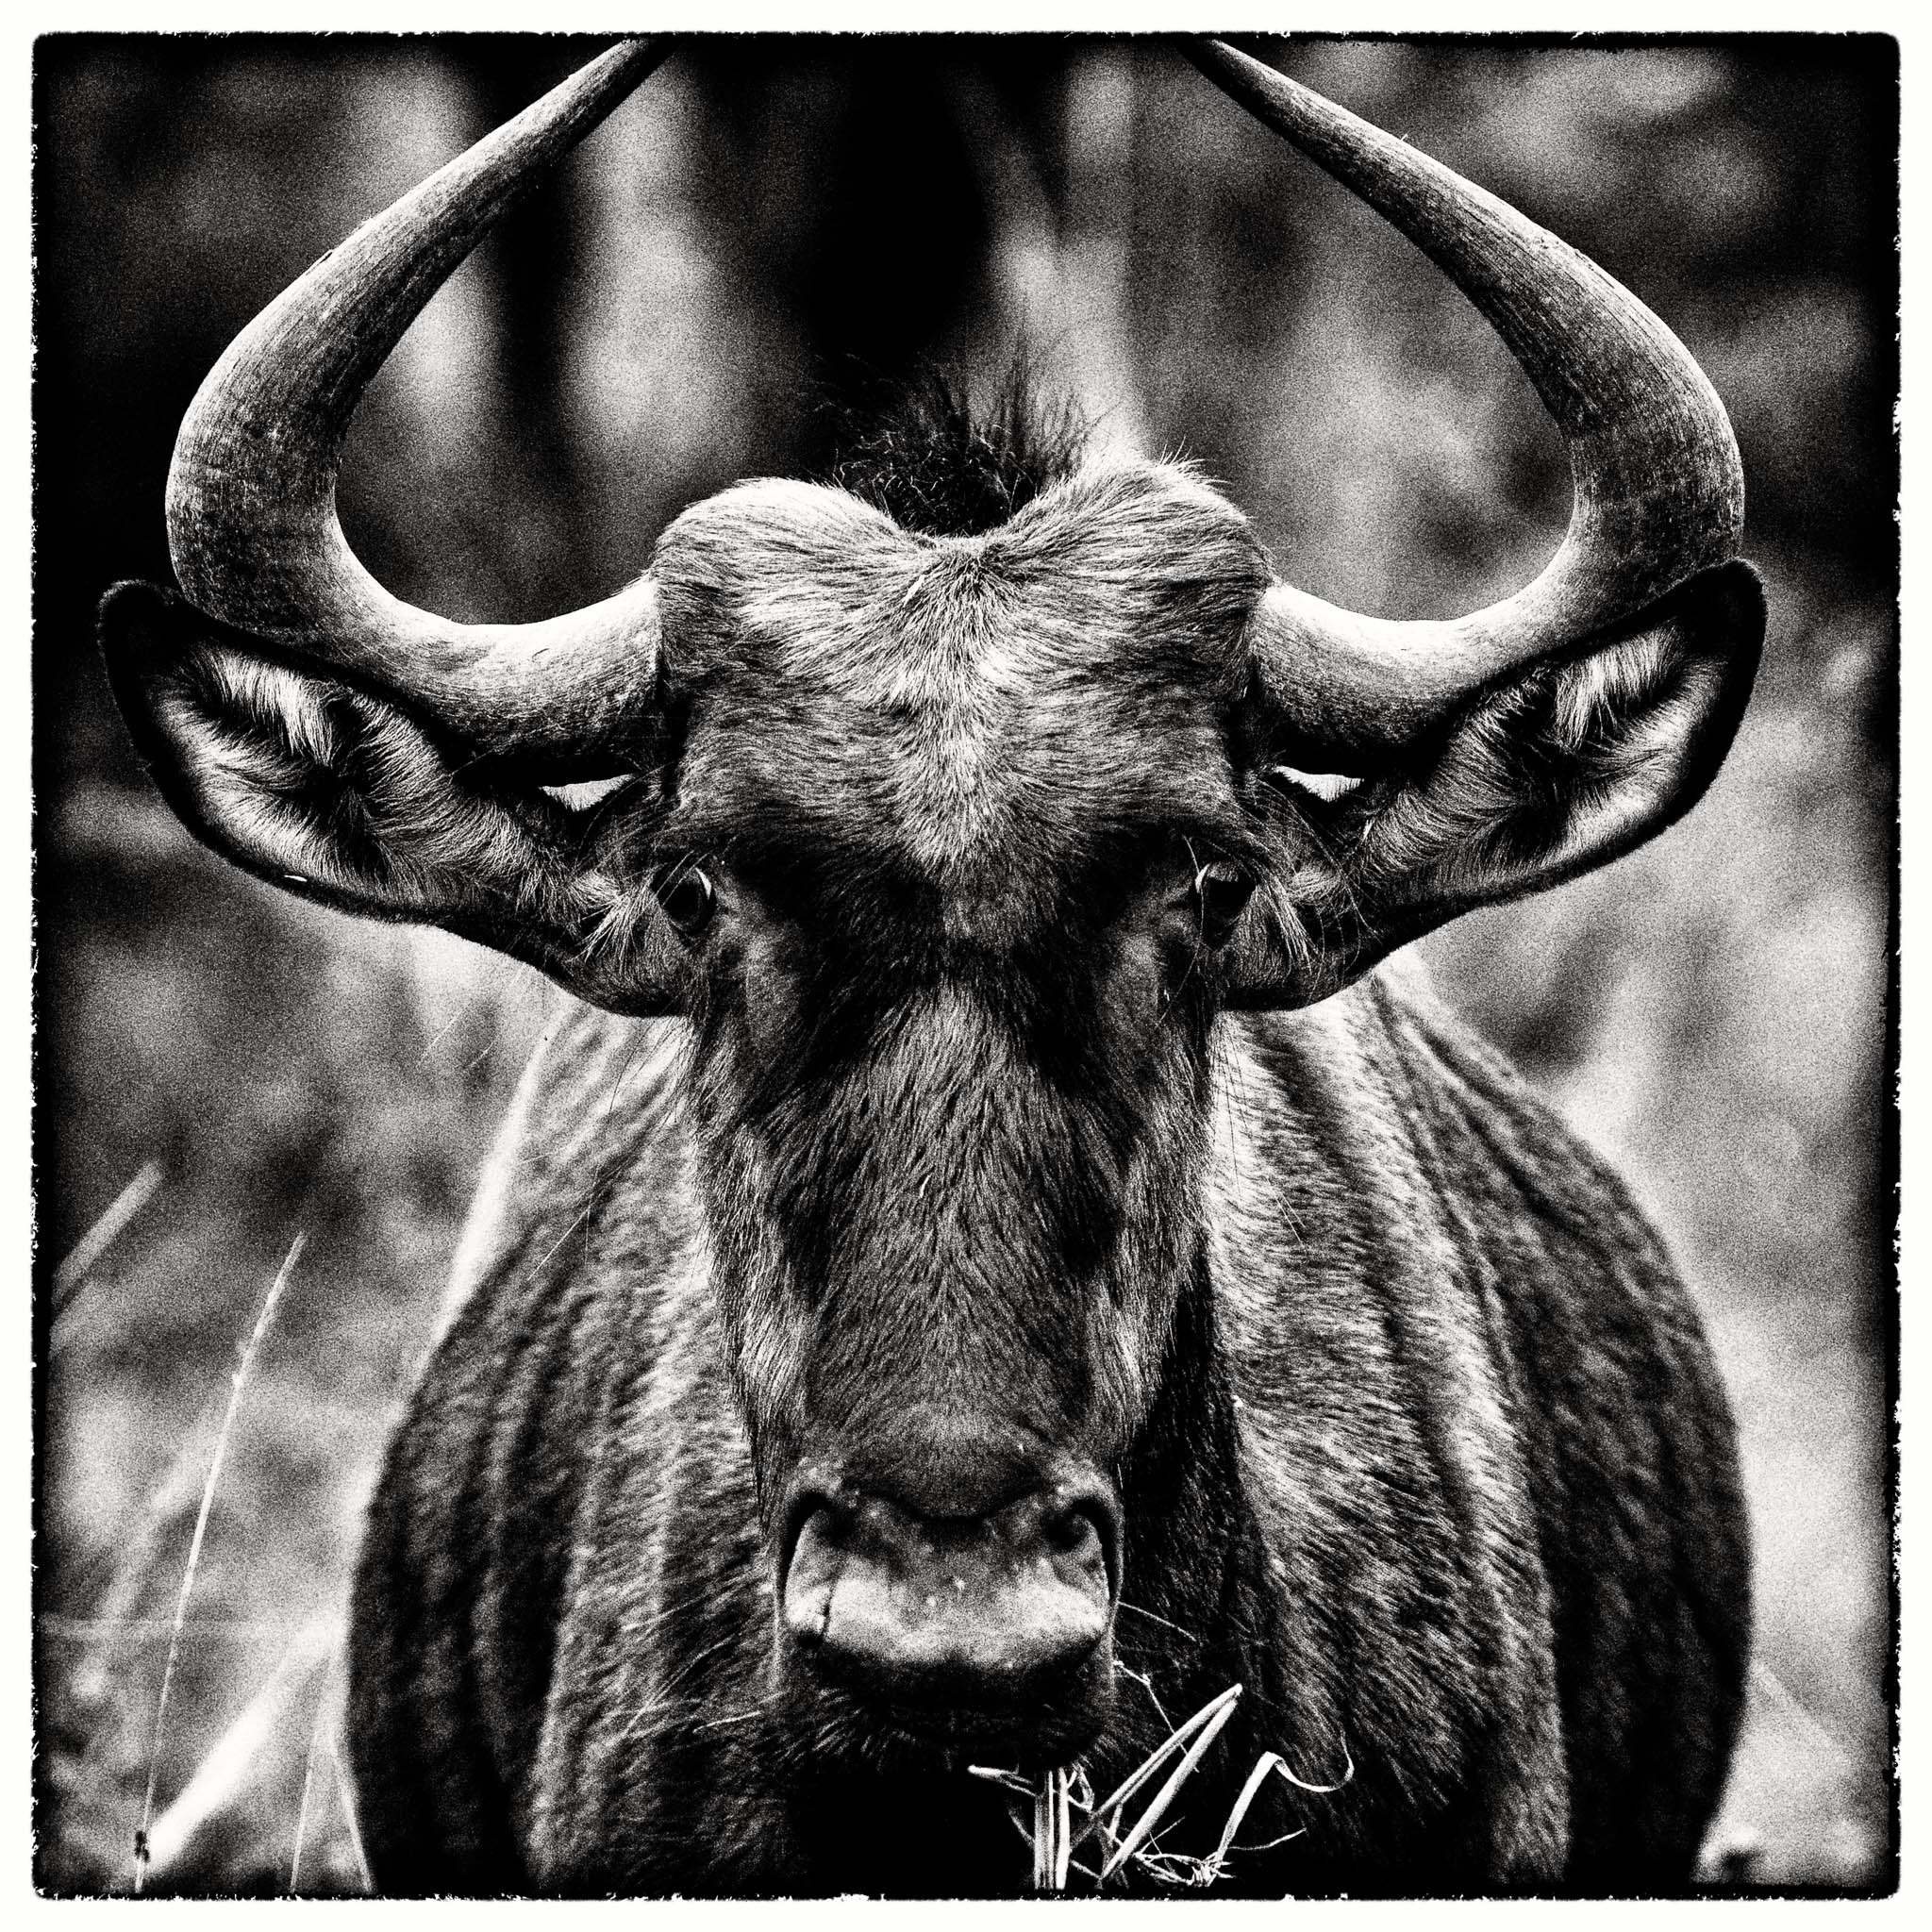
It’s All About the Wildlife. The Serengeti is a wild, complex place. If you arrive during migrations it can be hectic, fast-paced, dizzying. I suggest reading up on the behavior of the wildlife you will see so you can anticipate their movements. Have an idea of the kind of imagery you want to capture for each species. Look for images that are not what I call “Wildlife 101”, meaning images of the entire animal that you would see in a biology textbook. Look for action, evidence of sentience, even humor. This image of a wildebeest shows just how dorky they are. One guide I know says that God made them out of spare parts.
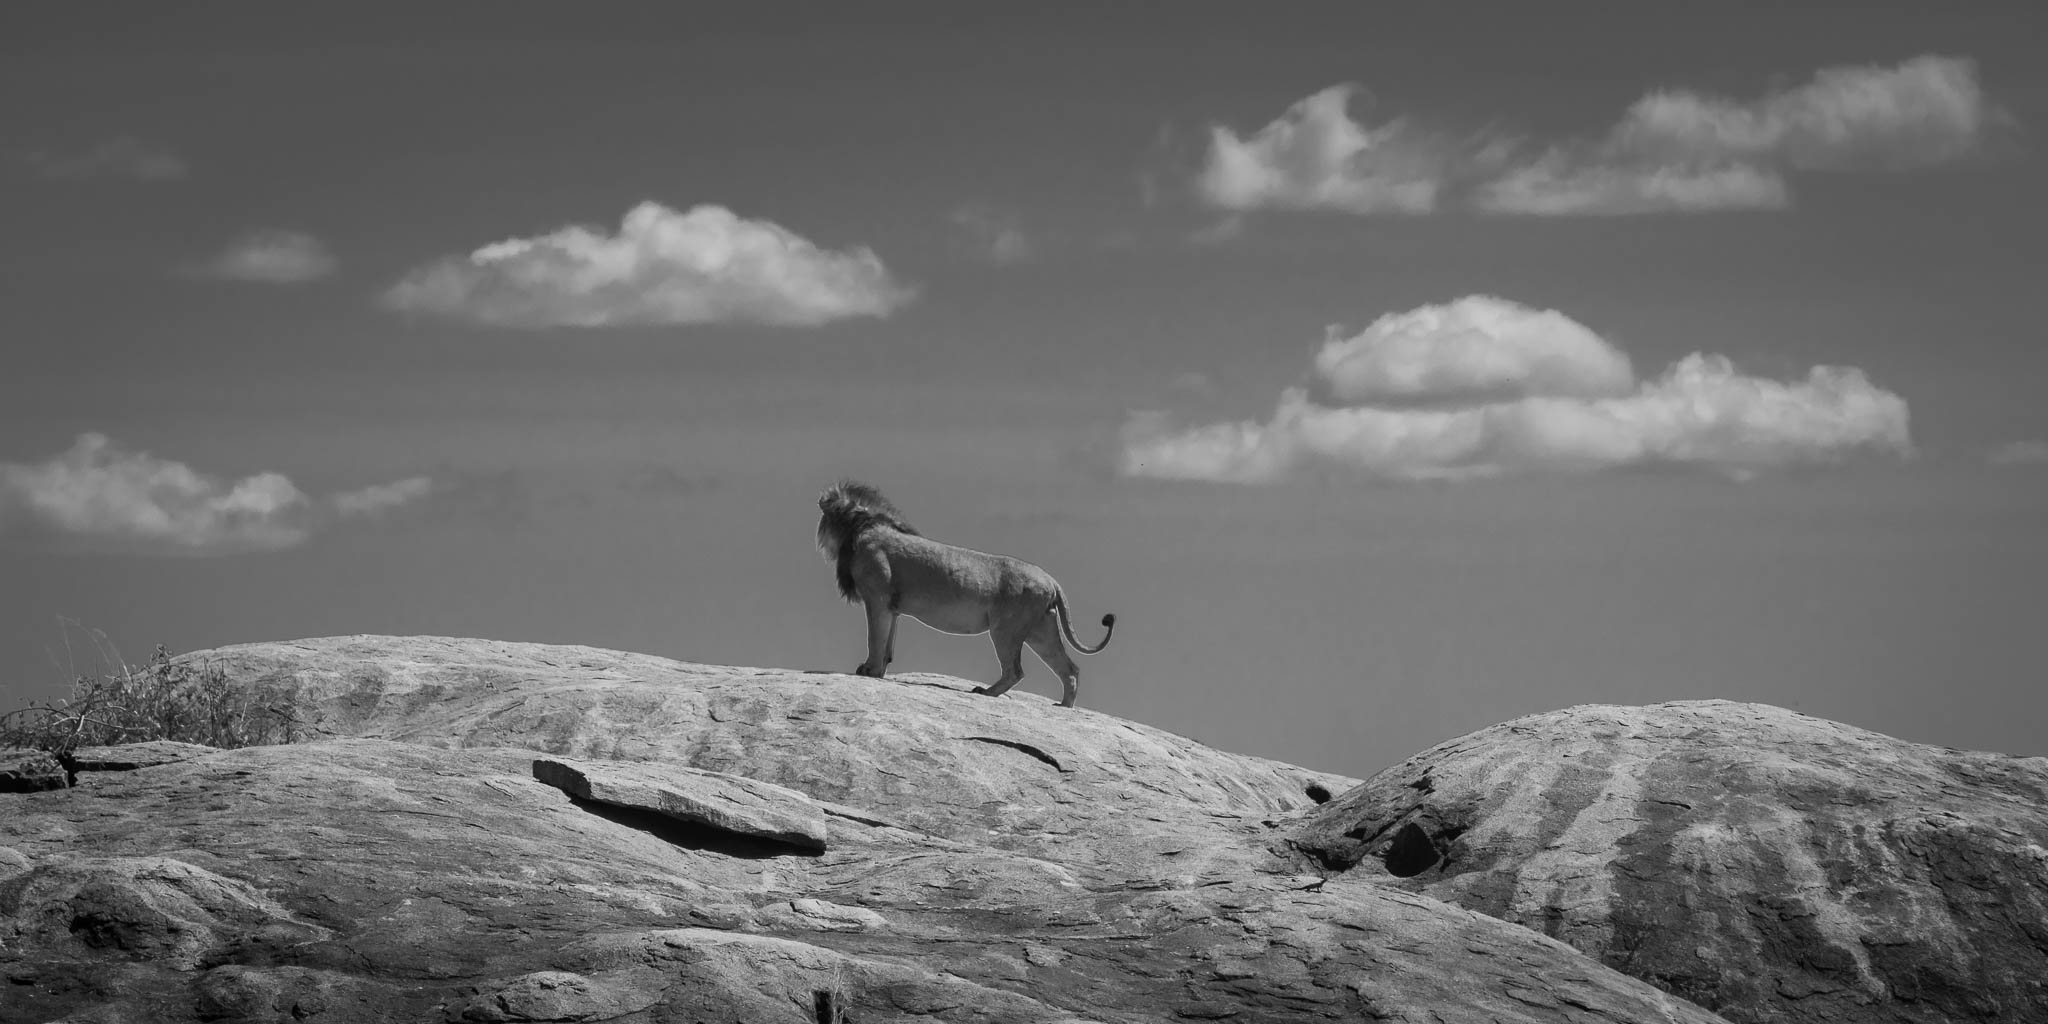
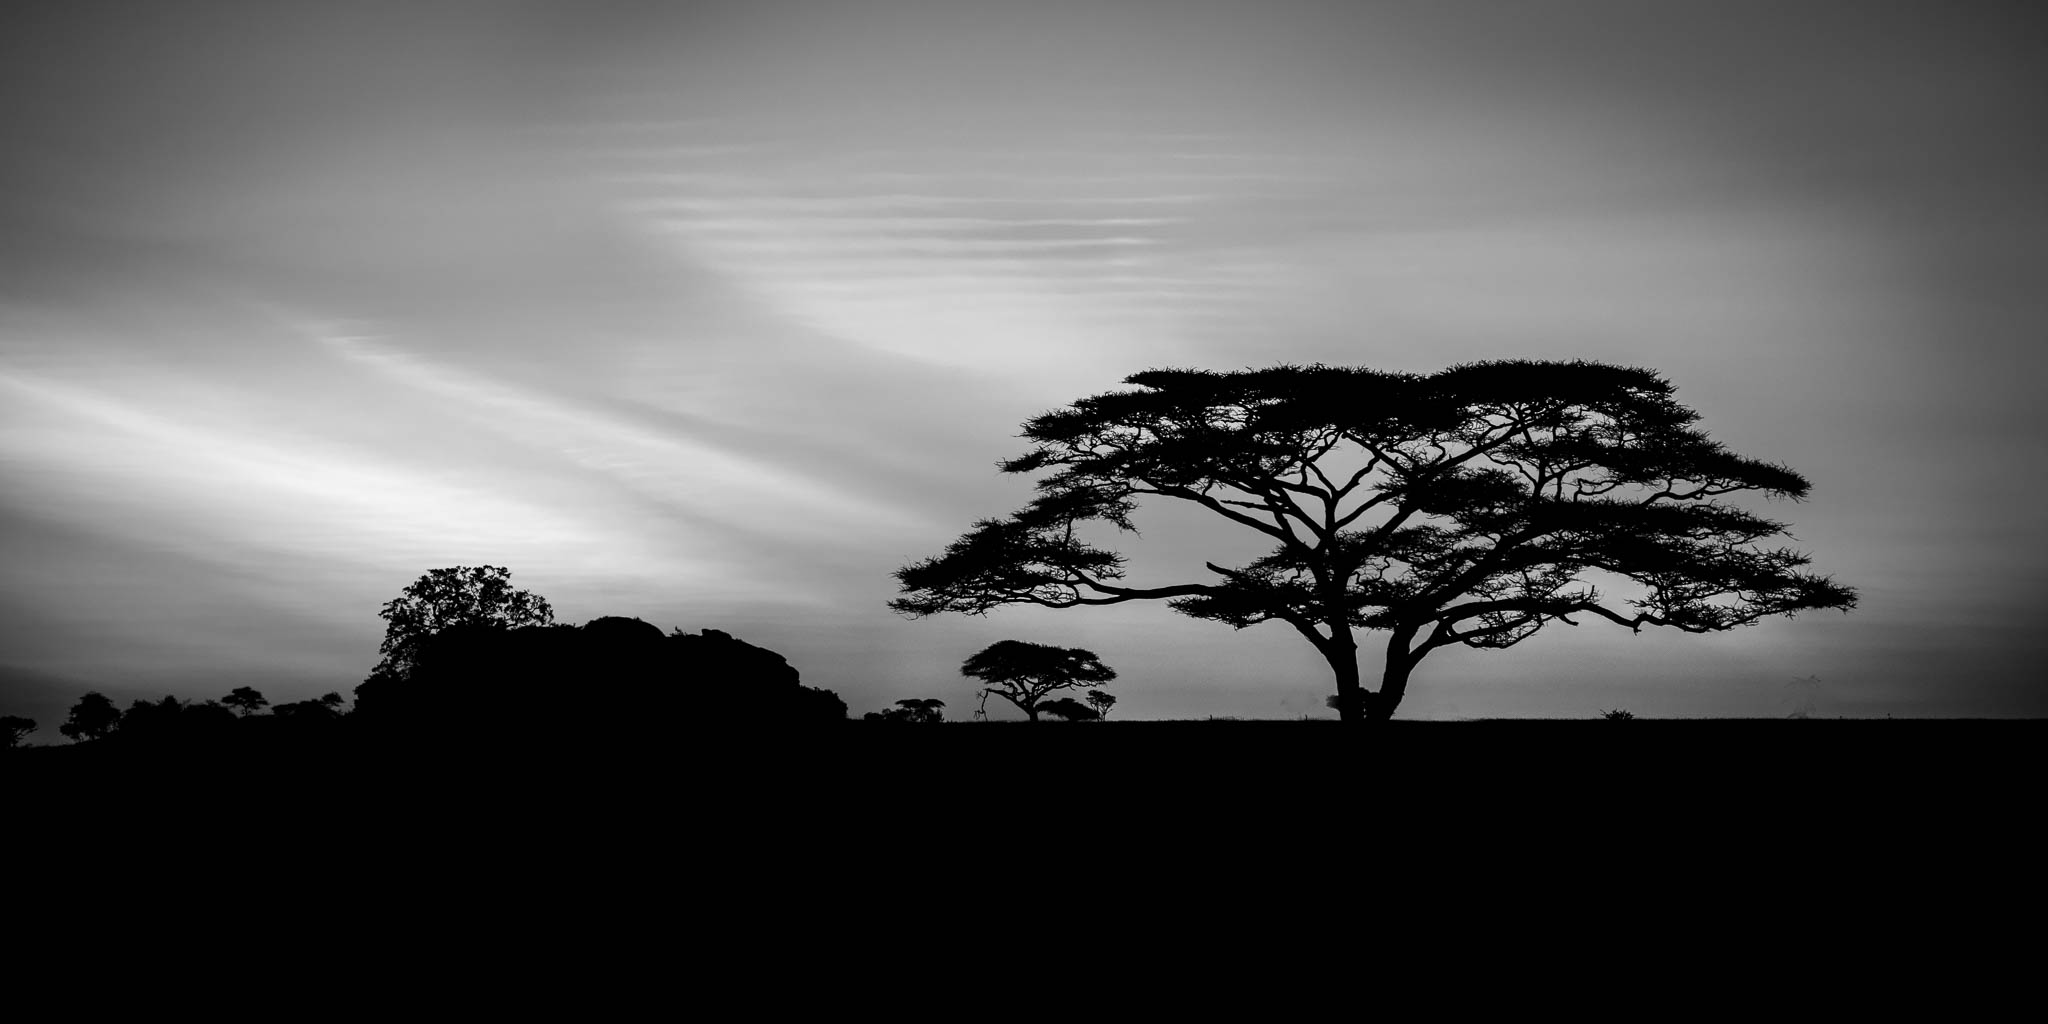
But, It’s Not Just Wildlife. The Serengeti is a stark, yet strikingly beautiful land, ever changing with the seasons. The land provides opportunities for wonderful landscapes. The annual rains bring grasses that quickly turn golden. Rocky outcroppings add dimensionality to scenes. Sunrises and sunsets are gorgeous. Acacia trees make great subjects. Just make sure that you work on your compositional elements.
Take Two Camera Bodies. If you use a DSLR and plan to take a few lenses, you are well advised to mount the most used lenses (see below) on separate bodies to avoid dust infiltration. Rest your lens even for a few seconds on dust-covered seats and you are asking for trouble.
Watch Your Weight. Your gear weight, that is. If you will be taking any internal flights, you will be limited to 35 or 50 pounds. Choose what gear to bring judicially. You can safely leave your tripod at home or bring a lightweight travel tripod. Every Serengeti vehicle provides beanbags for support.
Bring High Probability Lenses. I suggest a 24-70 (for landscapes and people), a 70-200 and a 200-400 or 200-500 or 80-400 for wildlife action. Go for the highest quality lenses you can afford.
Accessories Matter. Don’t forget battery chargers; more than one will help you charge quickly, since you will want to get to bed early for tomorrow’s sunrise. A good cleaning kit helps. Extra lens caps. Duct tape. A multi-tool with pliers. Polarizing filter. Wide-brimmed hat. Sunscreen. Insect repellent. Light gloves for colder early morning shoots in season. Check to see if your company has high quality camera beanbags. If not, buy one (I suggest the Skimmersack by Kinesis Photo Gear) and bring it with you. Your guides will fill it for you upon arrival.
Listen. Your local guides know what they are doing. Listen to them and you will learn more than you might from books. They will sometimes appear to be taking an out of the way road, but they know where to get you to the action. Their goal is to please.
Be Nice. Speaking of pleasing, a positive attitude goes far on African safaris. You will undoubtedly be tired, perhaps sore, covered with dust, and perhaps a bit anxious. A good sense of humor really helps.
Select Your Safari Company Carefully. Many very fine safari companies are not set up for serious photographers. Choose one that understands lighting, the action you are seeking, and has vehicles set up specifically for photography. You are spending a lot of money for an African safari and due diligence is critical.
Tip Well. Your guides and camp or lodge staff really do depend on tip income. Look around the towns and villages you will pass in Africa. Your guide and his family will probably be living in one of them or a similar village. Please keep that in mind when tipping.
I’ve surely left things out, so please feel free to comment and leave your own suggestions.